
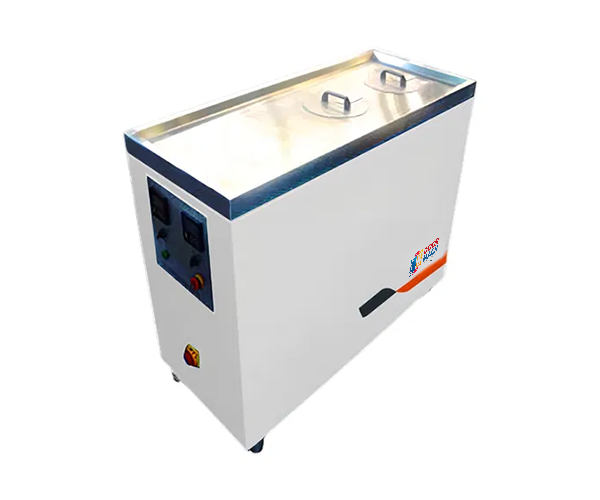
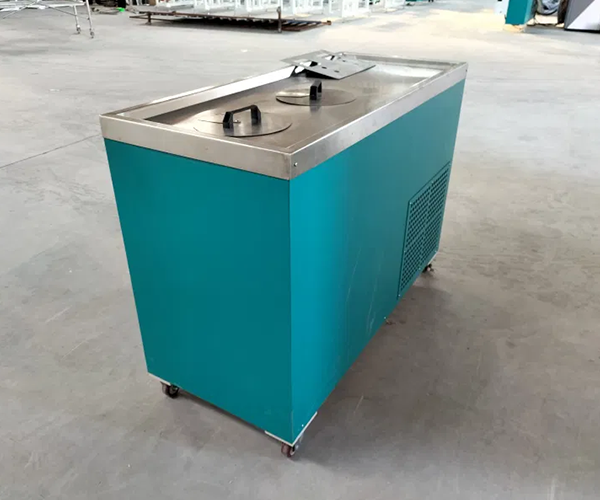
Description
• It is used for storing the gun when manual sealant gun stop work during the process of sealant spreading for insulating glass
• Storing at low temperature, to prevent sealant solidify inorder to save time and not make any waste fo sealant
• Apply to insulating glass two-component polysulfide sealing and silicone sealant sealing
• Can be effectively reduced waste when cleaning the sealant
Main Parameter
Item.
Spec.
Max. refrigerating temperature
70ºC
Min. heating temperature
-40ºC
Total power
3.8Kw
Refrigerating
<150min
Overall dimension
1550mm*60mm*1300mm
Operating Instructions
Operating Instructions for Rotating Gluing Table and Sealing Freezer
1. Turn on the device
Open the main air valve of the two-component glue machine (the pressure gauge is set to 6 Bar)
Turn the main switch from “0” to “1”
Turn on the emergency stop switch with the key
Press the control switch (Control On)
Turn Operating Mode to Mixing Switch Seal
Press the Bydroulil On switch to turn on the hydraulics
Select the appropriate height by adjusting the pressure gauge of the air pressure equipment. Generally, the position of the glue gun is equal to the height of the rotating sealing table.
If you use a sealant sealing gun freezer, place the sealant sealing gun in the heating box to heat for 2-3 minutes before using it for better results.
Use the hydraulic handle to select the flow rate of the sealant, generally 50 Bar. At this time, the two-component glue machine enters the working state of the glue application.
2. Check the semi-finished insulating glass entering the sealing table
Is there any misalignment between the two pieces of insulating glass?
Is butyl extruder applied straight?
Check whether the aluminum frame is installed at an angle
Is there any dirt or debris between the two insulating glass layers?
Is there any rebound phenomenon in the aluminum profile spacer frame?
3. Start sealing the two-component silicone sealant
Turn on the main switch of the rotating sealing table and select the appropriate sealing angle and speed (generally 50% is used)
Press the left foot switch to raise the rotating sealing table
Open the sealing gun, start applying the sealant, step on the left foot switch, and rotate according to the set angle and speed.
After applying the sealant, check the effect of the sealant sealing. If there are any defects, repair or re-seal them.
After the self-inspection, step on the right foot switch to lower the glue coating table. Use a suction cup to move the finished insulating glass off the glue-coating table (try not to contact the sealing surface with both hands) and place it on the glass shelf. Other parts of the insulating glass must be in contact with the support. The faces are perpendicular, and the two different pieces of insulating glass are separated by foam.
Precautions:
1. The residence time of the mixed sealing in the sealant sealing gun must be controlled within 3-5 minutes, otherwise the buzzer will alarm within a certain period of time
2. Before sealing, check the mixing ratio of the two-component silicone sealant. Squeeze the mixed two-component silicone glue onto a 100mm square, 3mm thick float glass, and then take a piece of the same size and thickness. Press the float glass on the first piece of glass and check the mixed glue effect in a bright place. If there is obvious thread-like white glue or black glue in the mixed glue, it means that the mixing ratio of component A sealant and component B sealant is uneven.
3. Always pay attention to the pressure gauge of the hydraulic mixing ratio equipment. (When the pointer points to the green button, it means safe, and when it points to the yellow or red button, it means danger)
4. Pay attention to the sealant sealing cylinder pressure gauge (component A sealant 6 Bar, component B sealant 4 Bar)
After the work is completed, turn off the manual rotating sealant sealing table equipment, open the sealing gun, and squeeze out all the seal in the sealant sealing gun so that the extrusion pressure is less than 30 Bar. If it will not be used for a long time, first turn on the Operating Mode switch. After the base material is rinsed with Base Purge, open the sealing gun again, extrude all the components A silicone sealant sealing, close the equipment, and continue sealing until the extrusion pressure is less than 30 Bar, then put it into the sealing gun freezer.
Reviews
There are no reviews yet.